How to Get Rid of Bahia Grass (Paspalum) in Your Lawn
One of the toughest grassy weeds to control in home lawns across Australia is ‘Paspalum’ (Paspalum notatum) which is an aggressive grower that’s also incredibly resilient ...

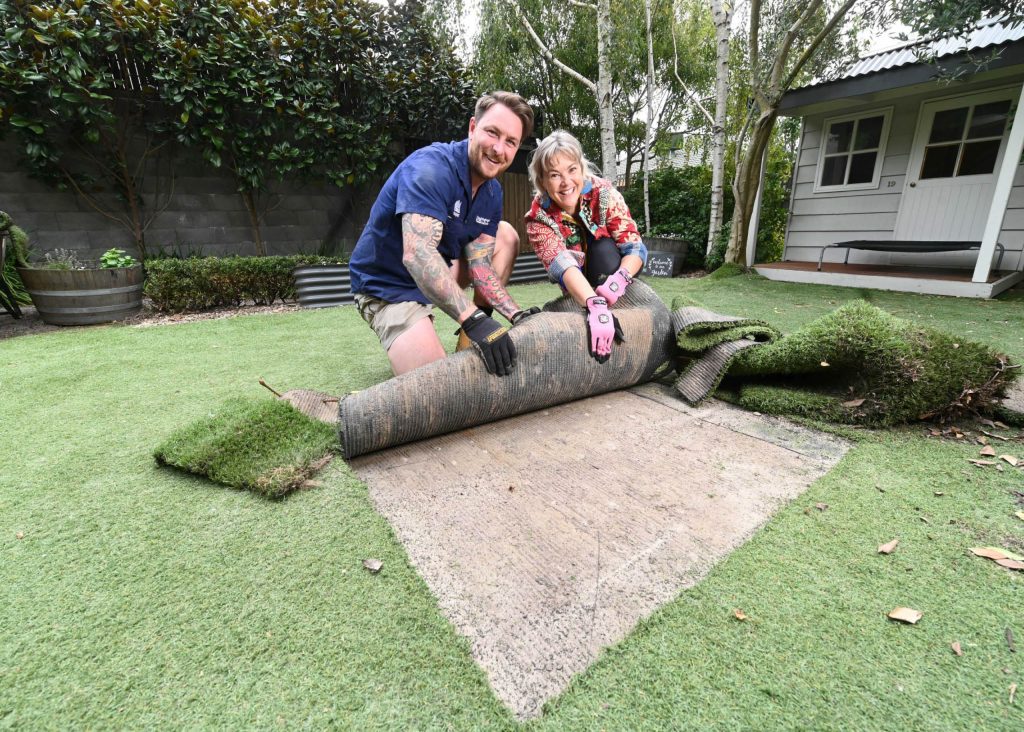 myhomeTURF has graced your screens on the new DIY series – DVine Living – hosted by former “The Block” favourite Dale Vine.
Over four weeks, the myhomeTURF team and Dale, himself a landscaper, designed and assisted in delivering a five-minute TV segment outlining the whole DIY lawn process from start to finish at four different Melbourne locations.
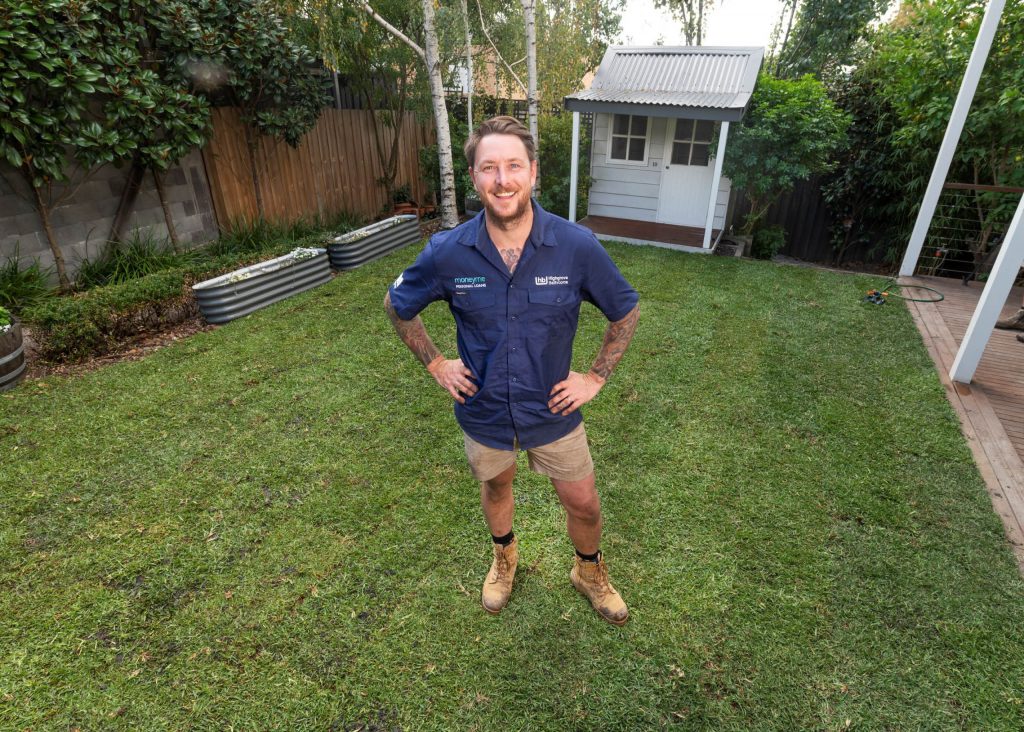
Job 3 is a house where homeowner Kate (pictured with Dale) wants to remove the smelly, synthetic turf and replace it with the real thing – natural lawn.
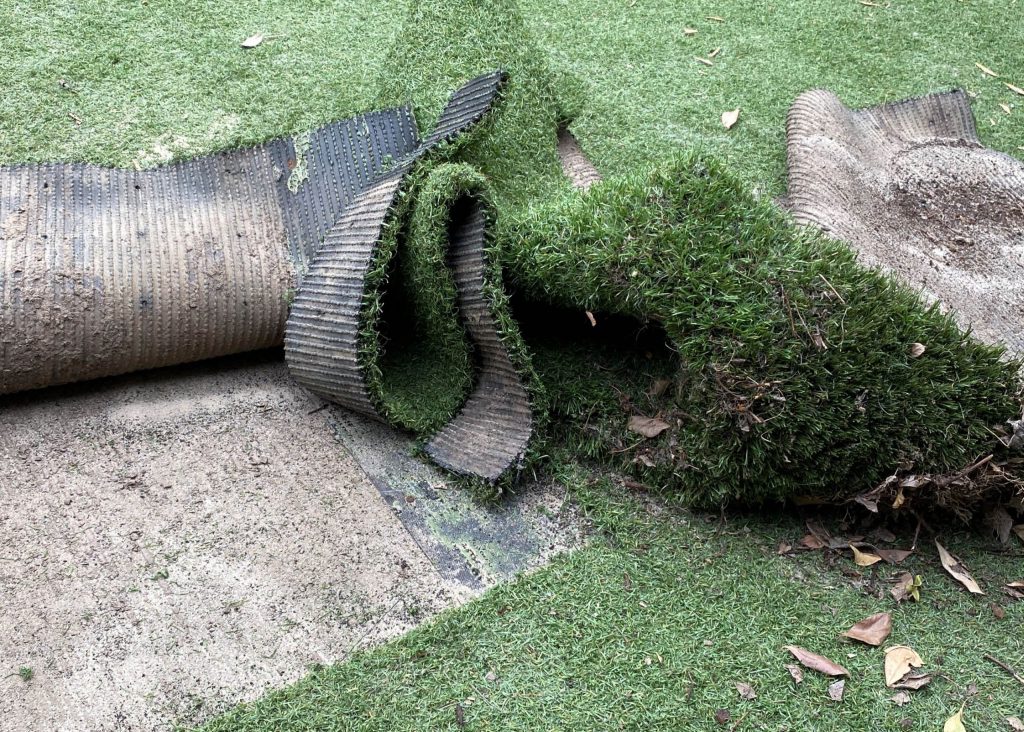 Job 3 is at a home in Balwyn North in Melbourne where the owners are desperate to remove their synthetic turf.
According to Dale: “I always prefer the ‘real’ thing and ‘real’ turf which has a much better environmental impact.”
“So, let’s get to work removing the plastic and laying the real deal.”
Kate said that when they bought the house 21/2 years ago, they thought the synthetic turf was a real eyesore from the get-go.
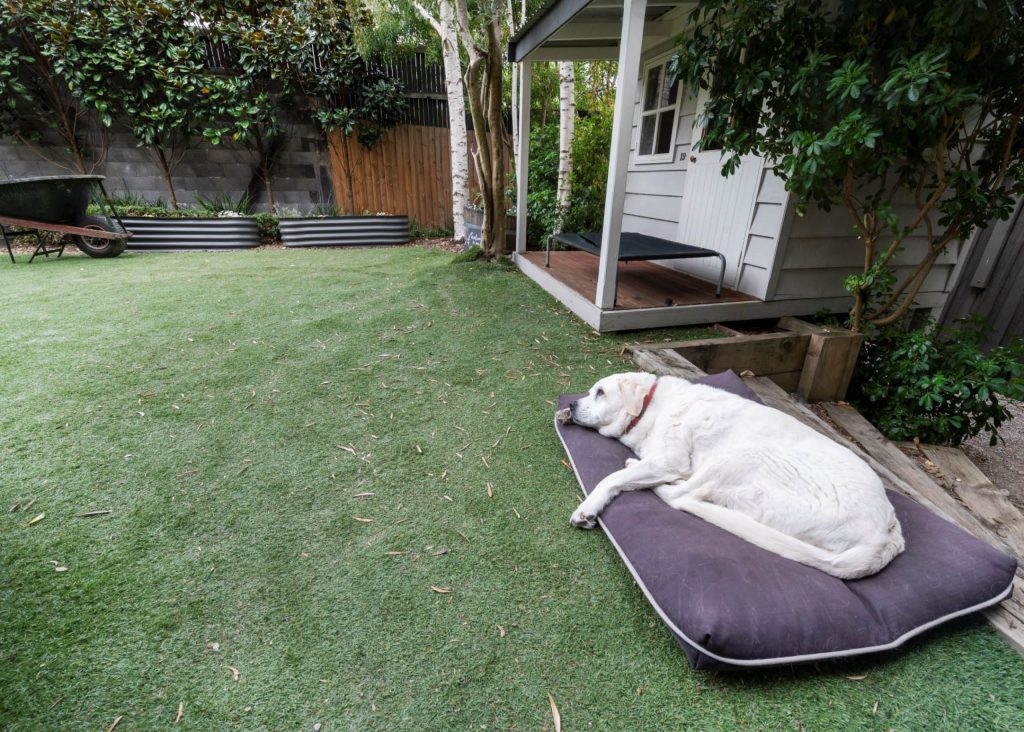 “It has always been on our agenda to rip it up and get rid of it. Now more then ever, after 21/2 years of our gorgeous Labrador weeing on the plastic turf it absolutely stinks, the dog hair has got mattered into the fibres – it’s time for it to go, I can’t wait,” Kate said.
“After looking at our options, we realised that laying ‘real’ turf was the safer, environmentally friendly, cost-effective option for our backyard – and it is going to look and smell so much better.
“This new lawn is going to let us use our backyard again!”
Kate chose myhomeTURF because “ … they could not have been more helpful, they advised us the best turf to use in this space and it is affordable”.
For Kate’s backyard Dale suggested Prestige Buffalo, which is the ultimate choice for lovers of dark green, soft-leaf lawn.
“As the site is central to traffic from the family and dog, Prestige’s fast growth habit allows it to recover quickly from wear and tear,” he added.
“The area is also under some shade, and Prestige Buffalo can tolerate up to 70% shade conditions, so it is a suitable choice.”
Our local myhomeTURF farmer, Australian Seed and Turf was on hand to deliver high-quality Prestige Buffalo for this job
“This yard is an easy one to measure but always allow an extra 5-10% from your measurements just in case – It is better to have a bit more than not enough!” Dale said.
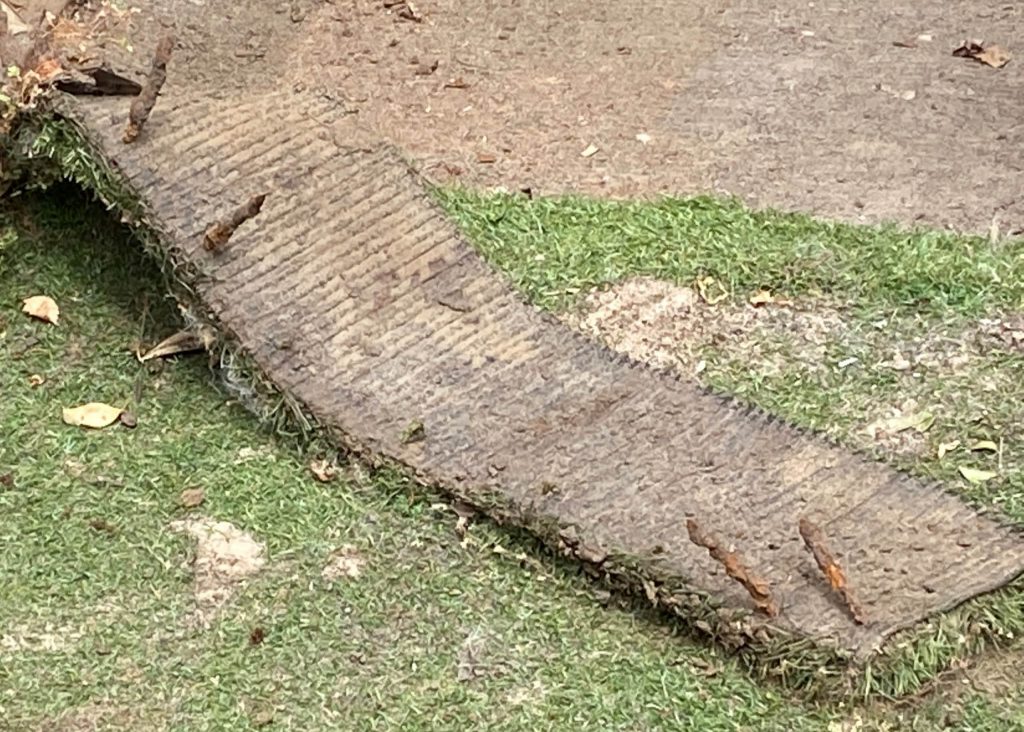
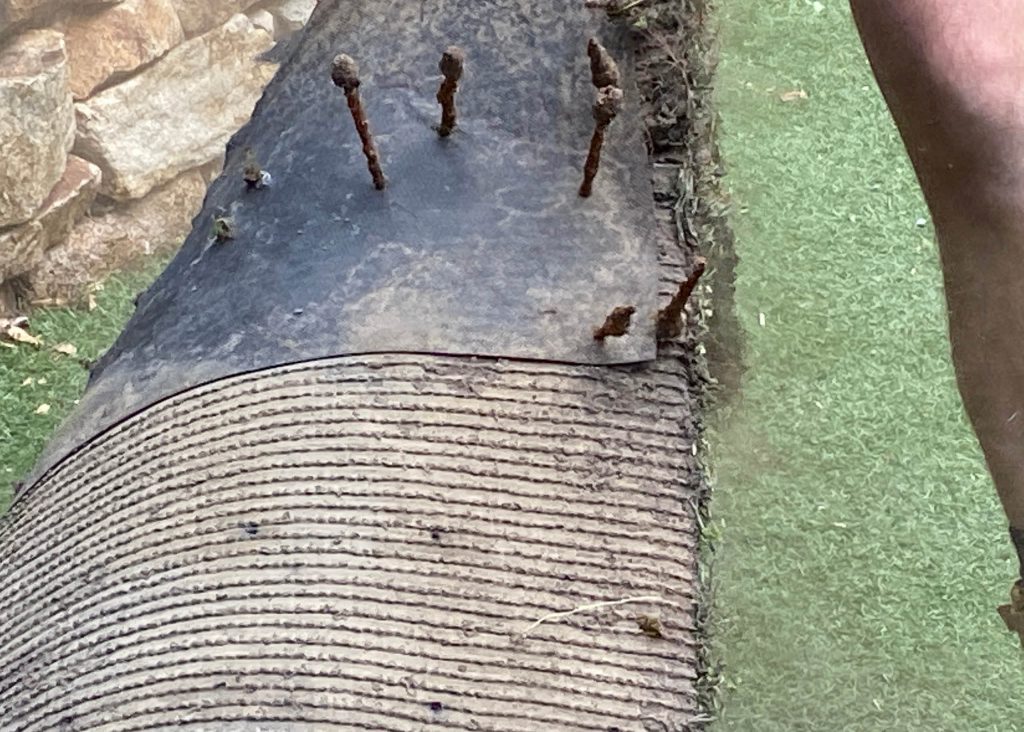 Quite simply – it’s synthetic, its plastic and ultimately it will all end up in landfill where it won’t break down, Dale stressed.
“For me, I always prefer the ‘real’ thing and ‘real’ turf which has a much better environmental impact,” he said.
“AND did you know – that ‘real’ turf has a proven cooling affect. During our intense Aussie Summer heat, synthetic turf can be up to 30 degrees C hotter than natural turf.
“In fact, the cooling effect of real lawn is just as effective if not better than trees.”
Prestige is the next generation Buffalo with the newest genetics on the market.
It’s the darkest green of all the Buffaloes and is bred in Australia specifically for Australian conditions
Prestige Buffalo offers homeowners a beautiful, no-fuss lawn that maintains a deep, dark-green lush colour year-round in temperate climates.
 It offers high shade tolerance when compared to other varieties, allowing for up to 70% shade in low wear conditions and 50% shade in high wear conditions
With a fast growth habit, Prestige can recover quickly from wear and tear.
As the variety is low thatch, it’s also low maintenance.
Like all warm season grasses, it will brown off in drought if not watered when the leaves start to wilt.
Dale explained that Prestige Buffalo was well-suited for most parts of Australia from Queensland to Victoria, South Australia and Western Australia.
“It can be established year-round except in cold climates during winter, and where it is below freezing,” he said.
“And you can expect to pay between $13 -16.50 a square metre for it.”
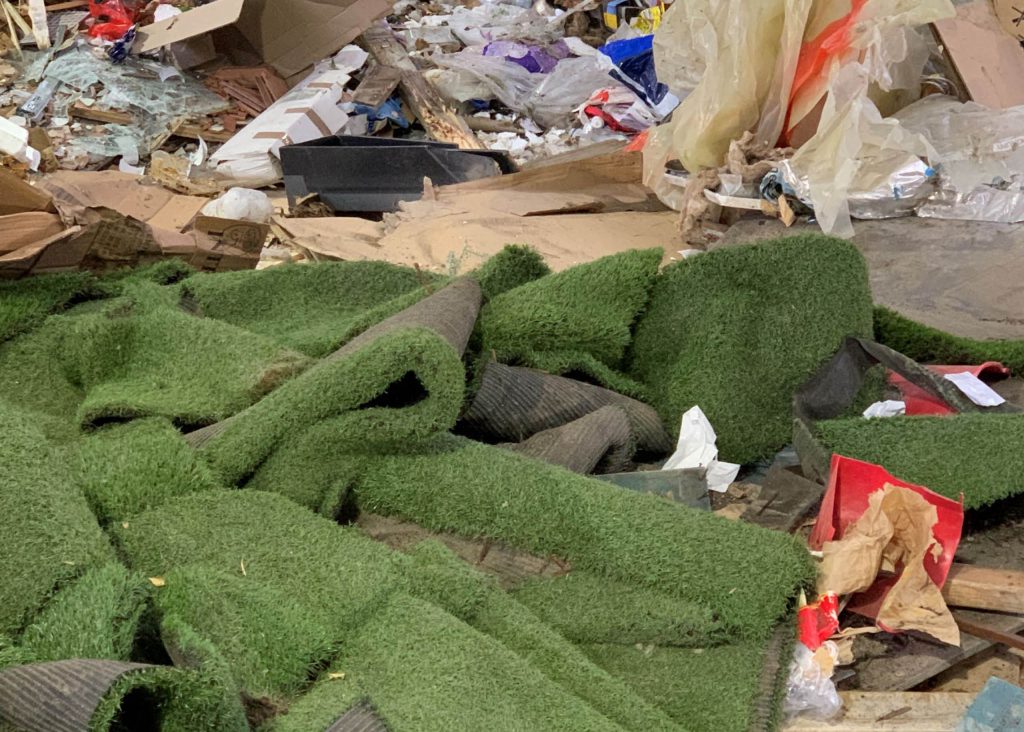 First let’s rip out the synthetic turf!
Once all the rubbish has been removed, we can look at the soil and see what we must work with.
There is a layer of crashed dust on top of soil so normally what I would like to do is dig this old soil out and remove it but in this case we can’t due to access issues to the yard.
Instead, what we’ll do is remove the synthetic turf by wheelbarrow and cultivate the existing soil.
The soil under the synthetic turf is compacted and lacks oxygen and nutrients, to fix this problem we’ll decompact the soil.
For this small area you need a garden fork or if you had a larger area or to make this job easier, you could hire a rotary hoe like we used for this job.
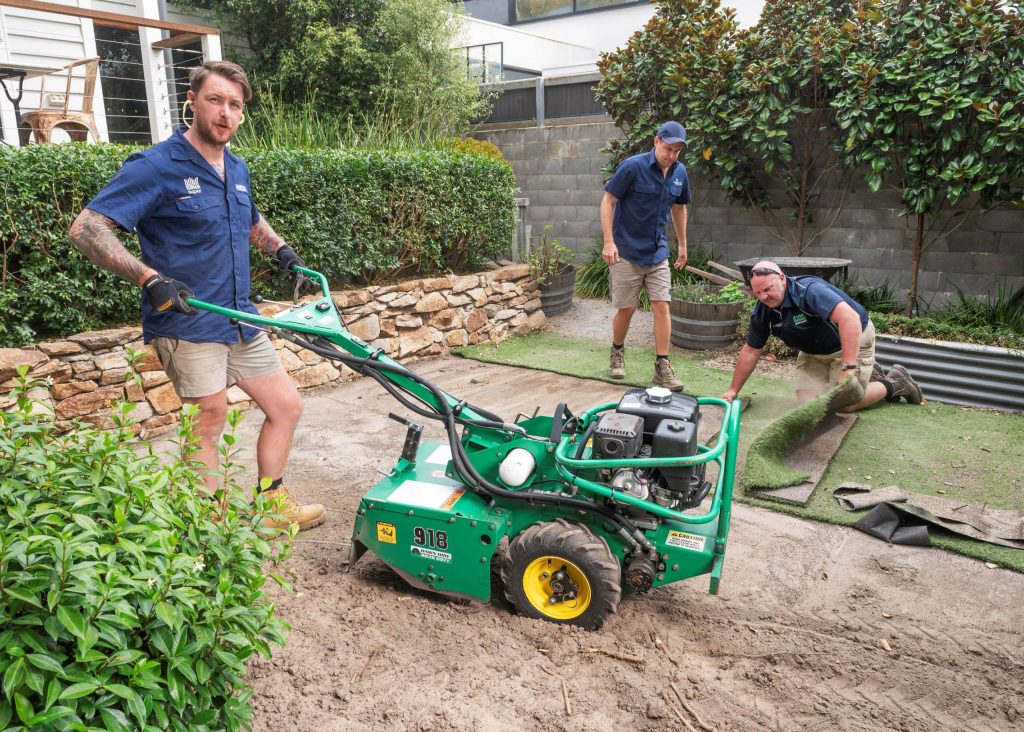 The reason we rotary hoe is to encourage air and oxygen throughout the soil.
To improve the soil structure, we’ll throw in some gypsum, organic fertiliser, and a small amount of new topsoil.
For topsoil I recommend a good lawn mix which is something all garden centres can supply as turf underlay.
We’ll also add gypsum which helps improve the soil structure and aid water penetration.
Put simply, before laying any turf it is VITAL your topsoil structure is healthy this also helps to improve the level of the site and create a nice bed on which to lay the turf.
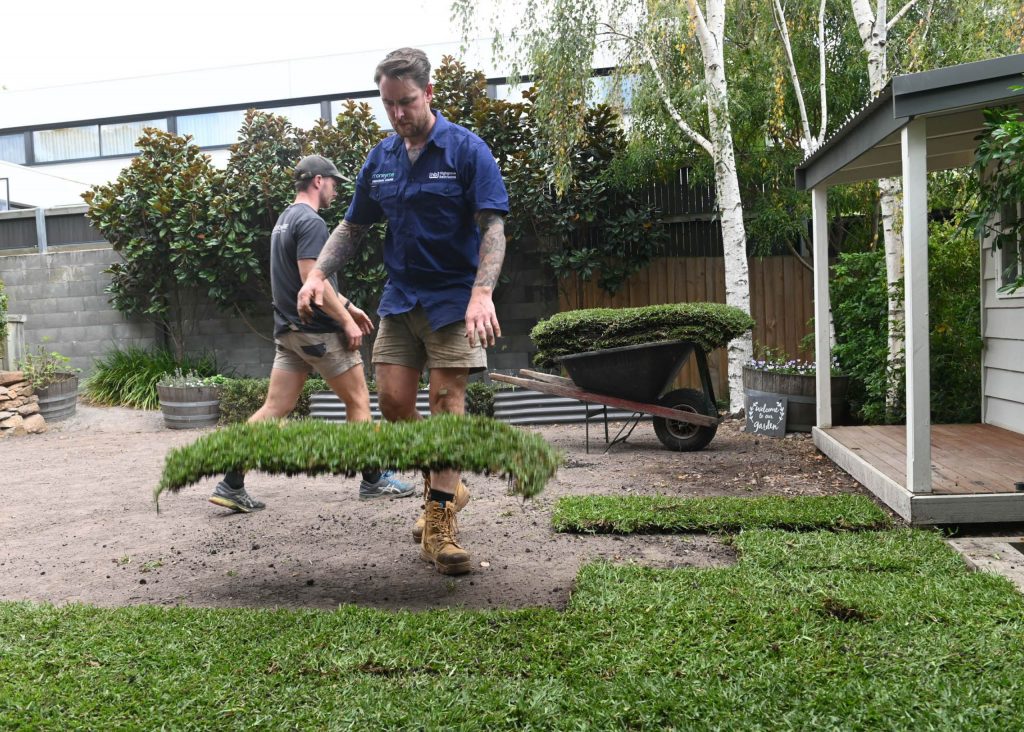 Now the fun begins!
Dale applied an Under Turf Starter Fertiliser and Water Crystals to help the soil retain any water and provide the necessary nutrients for the roots to grow into a nice green lawn.
Under Turf Starter Fertiliser comes in 2 handy sizes 900gm for the smaller yard or 4kg for a more sizeable area.
You are then ready to lay your new lawn!
Water Water Water
 You can check to see how much water is getting through your turf and into soil when you first lay it.
You do this by pulling up part of the turf slab or roll and seeing if it is wet in the middle of the roll as well as the edges.
Check a few areas, this then confirms that you are adequately watering your new turf.
After two weeks – infrequent deep watering is recommended.
People often ask me once your new turf is laid how long should you stay off it.
The answer is you can walk on it straight away but once you have given it a good water make sure you walk lightly. Also don’t plant your feet in and twist and turn or you will disrupt the slab of turf underneath.
But if you want to make sure your lawn has the best chance of establishing – keep foot and pet traffic off for at least two weeks.
A good rule of thumb for future fertilising is to do it before, or at the start of every new season. So that way, you are only doing it four times a year.
Once the Prestige has established its root system – DON’T mow too short – ideal mowing height for Buffalos in full sun is to 3.5cm to 4.5cm and in shade 5cm – 6cm (this is usually the highest setting on your mower).
This is so you leave more area for the leaf to absorb the available light– this is a great strategy leading into winter when the days are getting short and there is less sunlight.
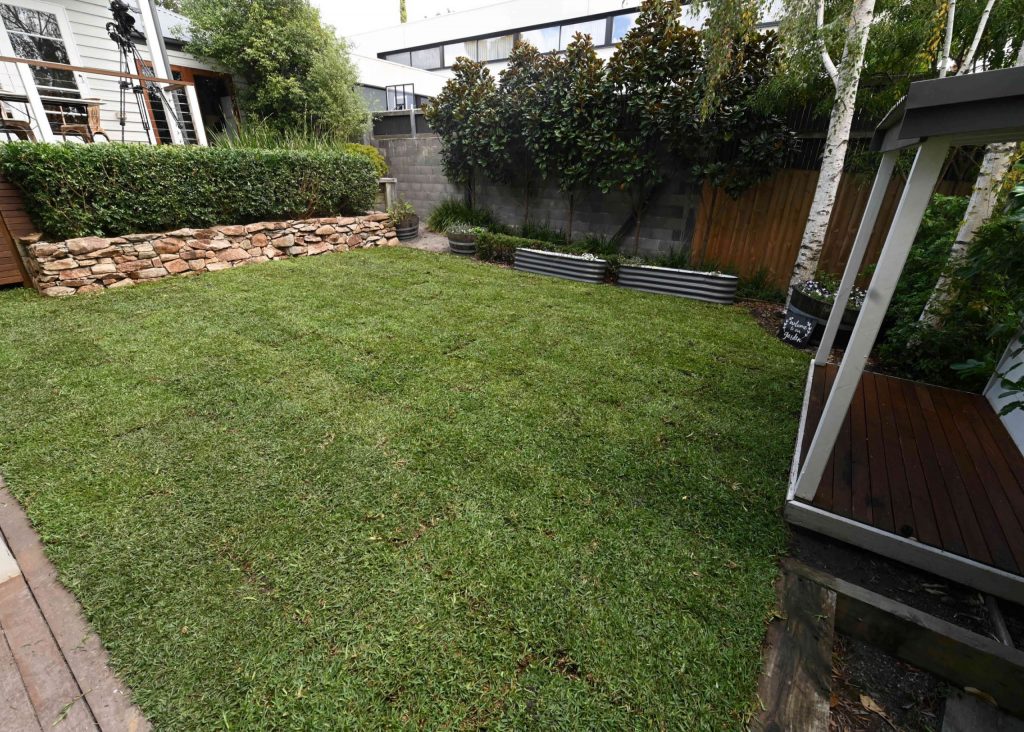 Kate was absolutely amazed with the DIY makeover.
“The lawn looks so fantastic, and the most important thing is – it does not smell,” Kate said
“So now we can start using this entertaining area the way we were meant to be able to!”
BUDGET (estimated):
Prestige Buffalo 60m2
($16.50/ m2) $990
Delivery $100
HIRE:
Rotary Hoe $150
Bin (to remove old lawn) $300
Topsoil
(local topsoil with organic matter)
2m3 = 60m2 x 0.035 (35mm) $137 (+delivery)
LawnPride’s TruGyp Gypsum (1kg/m2) = 60kg
$49.50/22.7kg (3 bags) $148.50
Organic Fertiliser Terralift TX10
60m2 20kg = $104.50
(this will do you for many more fertilising jobs as well so a good investment)
LawnPride’s Under Turf Starter & Water Crystals
60m2 4kg bucket $46.20
TOTAL $1976.20